This guide will explain you how to create your first bundle in Shopify with Zebundler. We will present you a real example of bundle creation and explain the process step by step.
Step 1 : Create the product used as bundle
Here we assume you know how to create a bundle. If you don’t know how to create a bundle we will suggest you to read this Shopify guide.
When you create a product destined to become a bundle please select the option “Shopify tracks this product’s inventory” for every variants.
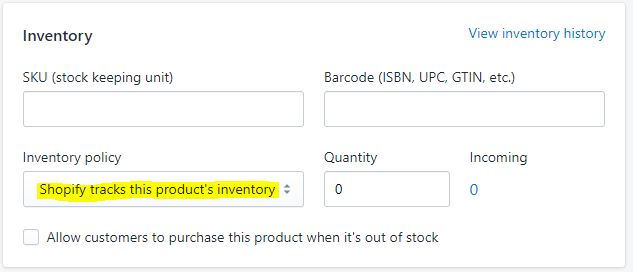
Leave the quantity of each variant at 0 Zebundler will initialize the stock quantity during the bundle creation.
Step 2 : Configure the bundle
Go to Application > Zebundler then click on “Create bundle”
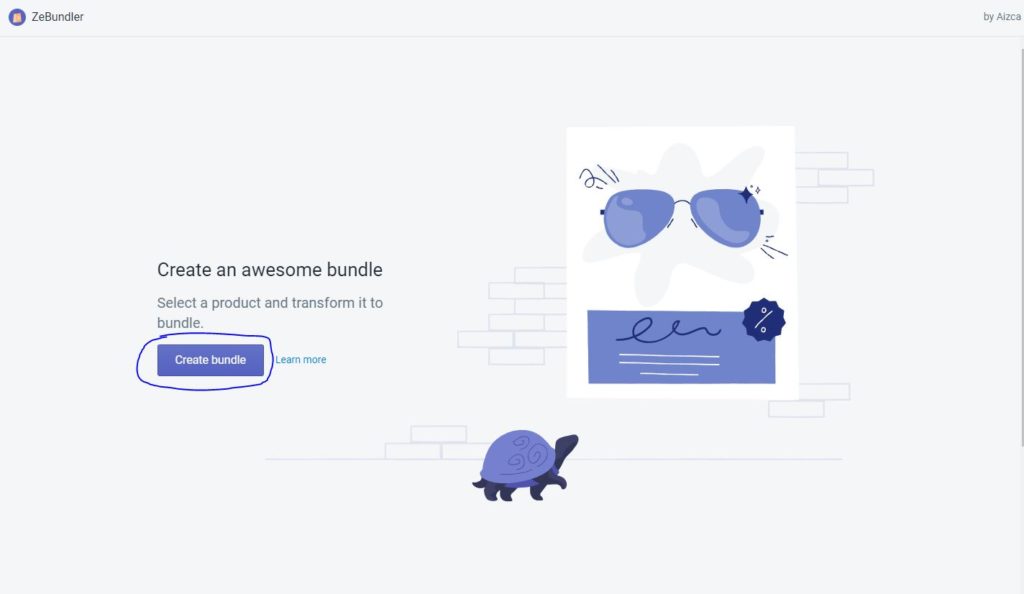
When you arrived on the create page click on “Select Product” button then select the product you created in the last step.
![]()
When the product used as bundle is selected you should see the page with different row corresponding to each variant of your product.

For each variant of your bundle product click on add variant and select the product variant you would like to include in your bundle. Then repeat this action until all variants of your bundle product get at least on associated product variant.
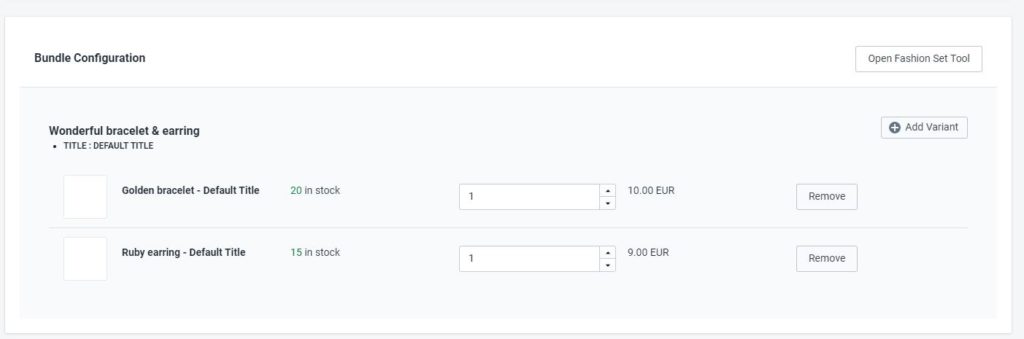
You can choose the desired quantity of a same product include in the bundle when it sold.
By example if your bundle is composed of two pairs of earring and one golden bracelet, you just have to increase the quantity field of earring.
Final step : Create bundle
When you finished your configuration for each variant just click on “Create Bundle” button. Then wait the bundle creation and you should be redirected to ZeBundler homepage and see your bundle listed.

You can see the stock of your product is synchronized with the minimum available stock (divided by the quantity) of associated product